Installing a home EV charging station is fundamentally an electrical-planning task: the safest and most cost-effective result comes from matching the charger’s output to the vehicle’s onboard AC limit, sizing the circuit for continuous load, and choosing an installation method (plug-in or hardwired) that fits the property’s electrical capacity. Independent testing and market data consistently show that most households achieve reliable overnight charging with modest Level 2 setups (often 32–40A continuous on a dedicated circuit), while load management can be the decisive factor that prevents costly service upgrades.
The guide below provides a practical, step-by-step installation workflow that applies globally (North America’s 240V single-phase and regions with 230V/400V systems). It also explains when it is more rational to improve smart charging (scheduling, monitoring, dynamic load balancing) instead of simply increasing amperage, and when a site should consider DC solutions for special use cases.
- Before you buy: define the goal and constraints
- Step 1 — Understand EVSE vs. the vehicle’s onboard charger
- Step 2 — Perform a home site survey (panel, service, parking)
- Step 3 — Choose a realistic charging output (amps/kW)
- Step 4 — Size the circuit correctly (continuous load rule)
- Step 5 — Decide: plug-in vs. hardwired installation
- Step 6 — Choose placement (indoor/outdoor) and cable routing
- Step 7 — Installation workflow (electrician sequence)
- Step 8 — Commissioning, settings, and verification
- Step 9 — When dynamic load balancing matters most
- Step 10 — When AC is enough, and when to consider DC
- Final checklist (handover-ready)
- FAQ
- References & external sources
Before you buy: define the goal and constraints
A home charging station project fails most often at the planning stage—not because the wallbox is “bad,” but because the charger, circuit, and daily usage pattern are mismatched. A professional installation plan typically starts with three variables:
- Daily energy need (kWh replenished between drives)
- Parking window (hours available to charge)
- Electrical headroom (service/panel capacity and existing household loads)
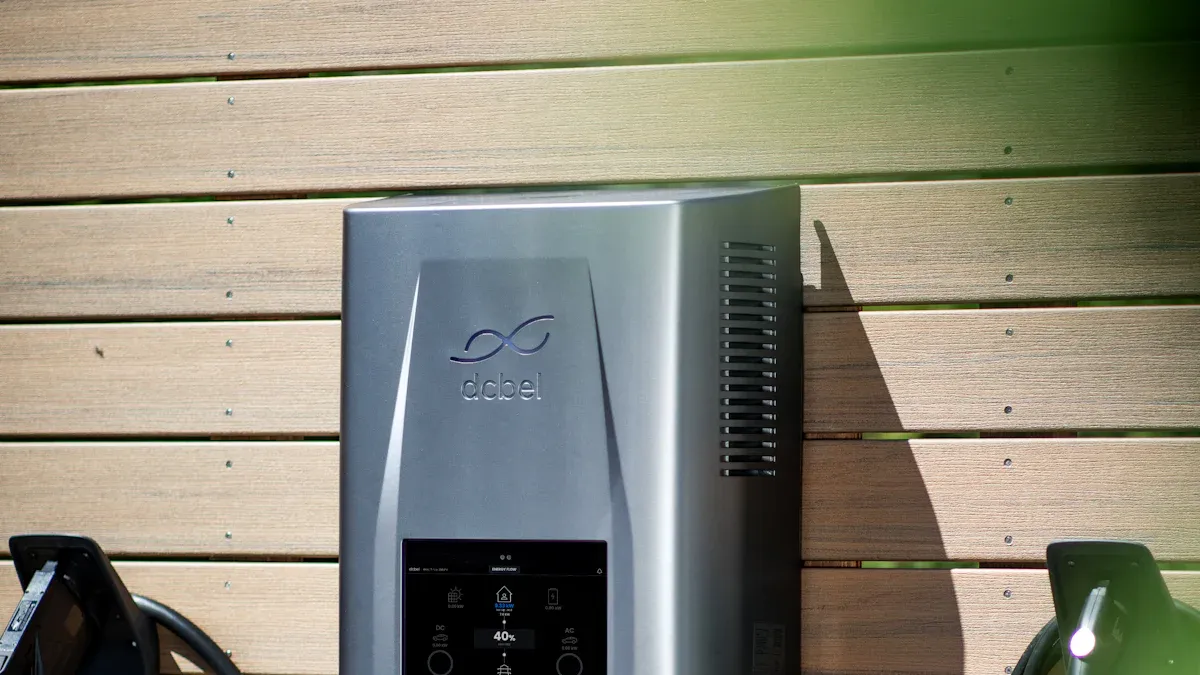
For readers comparing product categories rather than a single model, TPSON groups its offerings by use case—from residential AC wallboxes to compact DC solutions—under its EV Chargers portfolio.
Step 1 — Understand EVSE vs. the vehicle’s onboard charger
The wall-mounted unit is typically EVSE (Electric Vehicle Supply Equipment). It manages safety checks and power delivery, but the vehicle’s onboard charger determines the maximum AC charging rate the battery can accept. Car and Driver’s 2026 home charger testing guide states that real-world Level 2 speed is limited by the lowest of three factors: the household circuit, the charging equipment, and the vehicle’s onboard charger.
Practical implication: a higher-rated wallbox does not guarantee faster charging if the vehicle cannot accept that current on AC. A correct installation plan therefore begins with the vehicle’s AC acceptance (kW or A), not the charger’s maximum label.
Step 2 — Perform a home site survey (panel, service, parking)
What a professional site survey covers
- Main service rating (e.g., 100A/150A/200A; region-specific)
- Panel space (availability for a new double-pole breaker and wiring routes)
- Peak household loads (HVAC, oven, dryer, water heater, heat pump, etc.)
- Parking geometry (garage vs driveway; cable reach; mounting height)
- Connectivity needs (Wi?Fi/4G/Ethernet if smart monitoring, OCPP, or fleet reporting is required)
Car and Driver recommends checking the main breaker rating and assessing spare capacity, because EV charging can demand sustained current for hours. If spare capacity is limited, load management can be used to reduce charging draw in real time instead of upgrading the entire electrical service.
Step 3 — Choose a realistic charging output (amps/kW)
Home charging decisions are usually better expressed as “how much energy can be added during the available parking window.” The table below shows typical Level 2 tiers (illustrative at 240V single-phase). These tiers align with the ranges referenced in Car and Driver’s testing guide (Level 2 commonly ~6–19 kW, depending on circuit and configuration).
| Continuous Current (A) | Approx. Power @ 240V | Typical Use Case | Notes |
|---|---|---|---|
| 16A | 3.8 kW | Low mileage, long dwell time | Often easiest on limited panels |
| 32A | 7.7 kW | Mainstream home Level 2 | Common “overnight” tier |
| 40A | 9.6 kW | Higher daily mileage | Often paired with a 50A circuit |
| 48A | 11.5 kW | Premium home / faster top-ups | Commonly hardwired in many markets |
| 80A | 19.2 kW | Rare residential; niche high-demand | Usually requires major electrical capacity |
Evidence from current products and testing
Independent testing and retail listings show the home market concentrates around 40–48A: Smart Charge America lists mainstream Level 2 home chargers such as Emporia (up to 48A hardwired / 40A plug-in) and ChargePoint Home Flex (up to 50A, commonly used at 32–40A). Car and Driver’s tested recommendations for 2026 also emphasize that the most practical value is often obtained at modest circuit sizes, especially when paired with smart scheduling and load management.
Step 4 — Size the circuit correctly (continuous load rule)
EV charging is typically treated as a continuous load. Car and Driver explains that EVSE should run continuously at 80% of the circuit rating. This rule protects wiring and breakers during multi-hour charging sessions.
| Breaker Rating | Max Continuous EV Charging Current (≈80%) | Approx. Power @ 240V | Common Notes |
|---|---|---|---|
| 40A | 32A | 7.7 kW | Often enough for overnight charging |
| 50A | 40A | 9.6 kW | Popular “balanced” home circuit size |
| 60A | 48A | 11.5 kW | Common for premium hardwired chargers |
| 100A | 80A | 19.2 kW | High-end; may require service upgrades |
The correct circuit size must also reflect local codes, cable length, installation environment, temperature derating, and breaker type. A licensed electrician should confirm conductor sizing and protective devices.
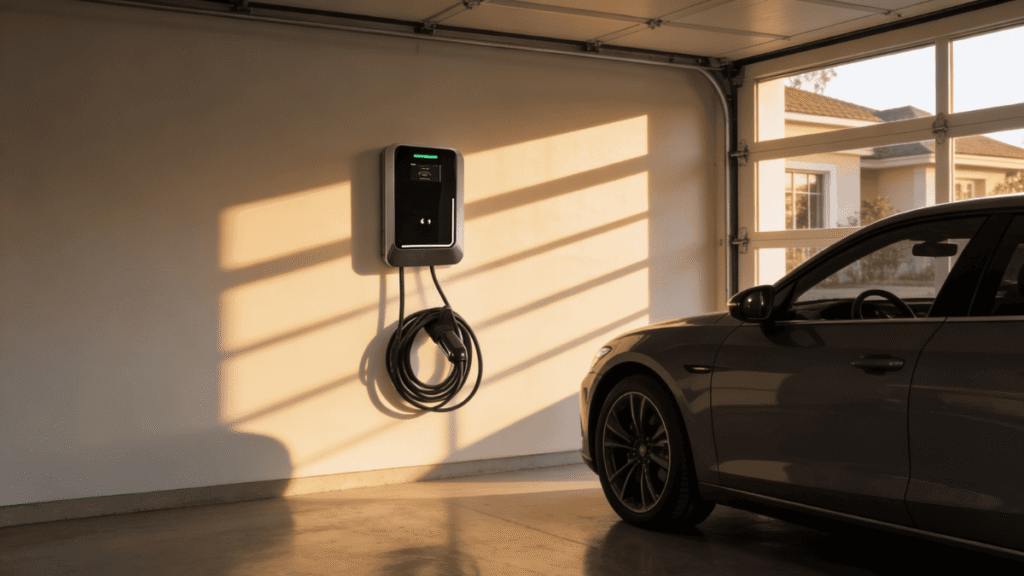
Step 5 — Decide: plug-in vs. hardwired installation
Plug-in (socket) installation
Plug-in installation prioritizes portability and fast replacement. In practice, the maximum continuous current for a plug-in unit is often tied to the outlet and circuit. Emporia’s documentation, for example, notes that a NEMA plug model is easy to install and portable, but limits charge rate to 40A, while hardwire can charge up to 48A.
Hardwired installation
Hardwiring typically supports higher continuous current and reduces reliance on a receptacle connection. Car and Driver notes that hardwired circuits can scale higher (up to 100A circuit / 80A continuous in some cases), although this is rarely necessary for typical homes.
GFCI / nuisance tripping consideration (practical risk)
For certain plug-in outlet configurations, Emporia warns that using a GFCI-protected circuit breaker together with an EVSE that has built-in GFCI can lead to nuisance tripping. This does not mean plug-in is “wrong,” but it does mean the installation design must be deliberate—especially where code requirements and device protections overlap.
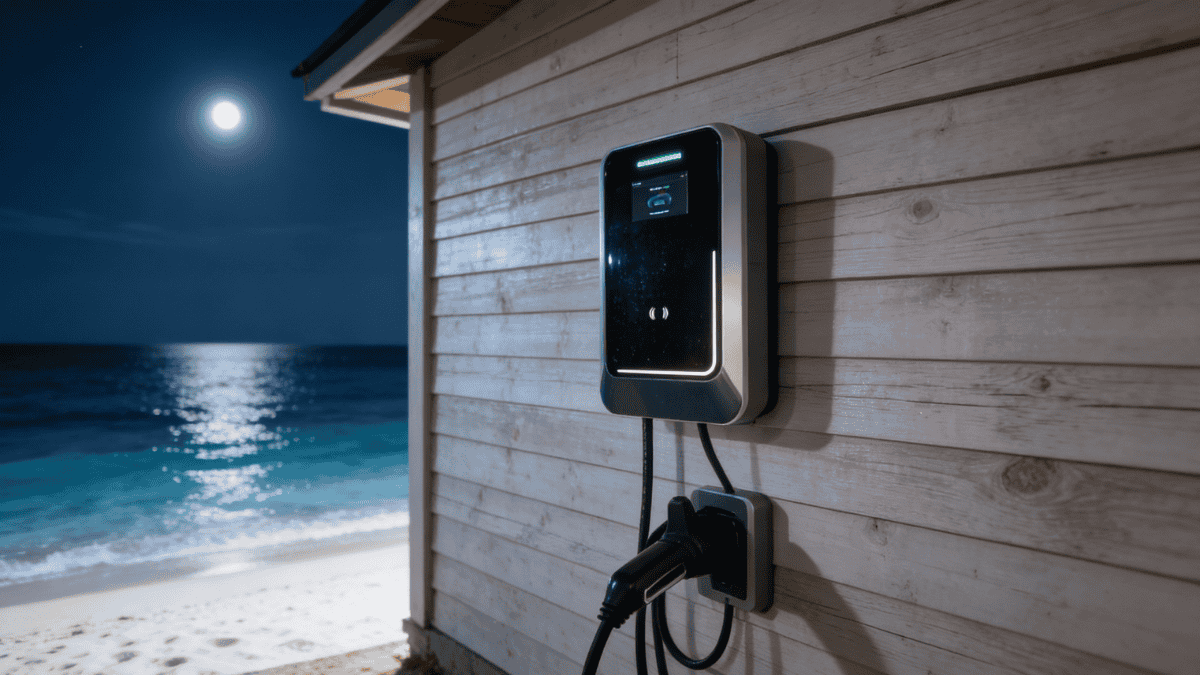
Step 6 — Choose placement (indoor/outdoor) and cable routing
A charger location should minimize cable strain, reduce trip hazards, and keep the installation serviceable. Car and Driver states that outdoor mounting is generally feasible, provided the EVSE and the electrical feed are appropriately rated (NEMA/IP) for exposure.
- Keep cable runs as short as practical; long runs can increase material and labor costs.
- Avoid mounting where water can pool or where sprinklers directly hit the unit.
- Ensure the connector holster is at a comfortable height to prevent repeated drops.
- If smart functions are required, verify Wi?Fi/cellular coverage before finalizing the mounting point.
Step 7 — Installation workflow (electrician sequence)
Exact steps vary by country and local code, but the professional workflow is consistent. The sequence below is intentionally written at a high level to avoid unsafe DIY interpretation.
| Phase | What happens | Why it matters |
|---|---|---|
| Safety isolation | Lockout/tagout and verify de-energized panel work area | Reduces shock/arc risk during breaker and conductor installation |
| Circuit creation | Install dedicated breaker; route wiring/conduit to charger location | Ensures continuous-load rating and proper conductor sizing |
| Termination | Terminate conductors to outlet (plug-in) or charger terminals (hardwired), torque to spec | Loose terminations are a common cause of heat and intermittent faults |
| Mounting | Mount wallbox/pedestal; verify cable management and strain relief | Improves durability and daily usability |
| Testing | Energize; verify protective functions; run a controlled test charge session | Confirms stable charging, correct current limits, and safe thermal behavior |
For buyers comparing charger categories and feature sets (basic, app, RFID, OCPP, load management), TPSON’s AC EV Chargers page groups the TW-series wallboxes by product family, while the broader lineup is summarized under EV Chargers.
Step 8 — Commissioning, settings, and verification
Commissioning is where many installations underperform. The goal is to ensure the charger never exceeds the circuit’s continuous rating, that scheduling aligns with tariff periods, and that the installation performs consistently across seasons.
Commissioning checklist (practical)
- Set the charger’s maximum current to match the breaker/circuit design (not “max possible”).
- Verify connector compatibility (Type 2 / J1772 / NACS / GB/T depending on region and vehicle).
- Enable scheduled charging for off-peak rates where available (cost control).
- Confirm network connectivity if using app control, billing, or remote monitoring.
- Run a complete test session and check for thermal warnings, breaker behavior, and stable current.
Step 9 — When dynamic load balancing matters most
In many properties, the limiting factor is not the charger but the building’s available electrical capacity. Car and Driver highlights load management as a way to avoid expensive service upgrades, and the Emporia Pro example shows real-time adjustment using a home energy monitor.
TPSON positions Dynamic Load Balancing as a core part of its EV charging ecosystem, emphasizing protection of the home electrical system and real-time safety monitoring. On the TPSON home page, the brand highlights Advanced Safety Protection, Dynamic Temperature Control, and Real-Time Diagnostics & Alerts as key advantages.
| Site Condition | Risk without DLB | What DLB improves |
|---|---|---|
| Limited service/panel headroom | Breaker trips or forced service upgrades | Adaptive current to stay within safe total load |
| Two EVs in one household | Oversized circuits or slow charging if fixed limits | Power sharing and prioritization strategies |
| High simultaneous appliance use | Voltage drop, nuisance trips, reduced reliability | Stable operation during peaks and faster charging during off-peak periods |
Step 10 — When AC is enough, and when to consider DC
For typical homes, Level 2 AC is the sensible standard. Car and Driver notes that Level 3 DC fast charging is generally illogical for home use because of cost and infrastructure complexity, while Level 2 can charge an EV overnight in many cases.
Public charging reality: AC + DC coexist
Love’s describes expanding a travel-stop network by adding more DC fast chargers (Level 3) to complement an existing AC (Level 2) network. This reflects a practical infrastructure lesson: AC charging is well suited to longer dwell times, while DC fast charging targets rapid turnaround.
Where compact DC can be rational (non-typical home scenarios)
Certain environments—roadside assistance, depots, events, dealerships—require faster and more mobile charging than fixed residential AC setups. TPSON’s TP?DC Compact Series is positioned for these scenarios with 20kW/30kW/40kW intelligent modules, wheel mobility, a 7-inch touchscreen, optional Ethernet/4G connectivity, and an output range of DC50–1000V (model-dependent), as described on its product page.
For those special cases, TPSON’s portable solutions are summarized under DC EV Chargers.
Final checklist (handover-ready)
- Vehicle AC limit confirmed (onboard charger acceptance for Level 2)
- Dedicated circuit installed and labeled; continuous-load sizing applied (≈80% rule)
- Installation method selected (plug-in vs hardwire) with local code compliance
- Outdoor rating verified for EVSE and all enclosures (where applicable)
- Max current configured in the charger settings to match circuit design
- DLB/load management decision made for limited-capacity homes or multi-EV sites
- Test charge completed with stable current and no nuisance trips
FAQ
1) Is a licensed electrician required for a home EV charger installation?
In most jurisdictions, adding a new dedicated circuit and installing EVSE involves code compliance, permitting, and inspection. A licensed electrician is typically the safest path because continuous-load sizing, conductor selection, and protective devices must be correct.
2) What is the “80% rule” for EV charging circuits?
EV charging is commonly treated as a continuous load. Car and Driver notes that EVSE should operate continuously at about 80% of circuit capability. For example, a 50A circuit supports roughly 40A continuous charging.
3) Should the charger be plug-in or hardwired?
Plug-in installations can be convenient and portable, but may cap output depending on outlet/circuit standards. Emporia’s product documentation states plug models are easy to install and portable but typically limited to 40A, while hardwired installations can reach higher output (e.g., 48A) and are more permanent. The correct choice depends on desired output, local code, and the property’s future plans.
4) Why doesn’t a higher-amp charger always charge faster?
Car and Driver explains that Level 2 AC charging speed is limited by the lowest of the household circuit, the EVSE, and the vehicle’s onboard charger. If the vehicle cannot accept more AC power, increasing EVSE capacity yields no real-world speed increase.
5) When does dynamic load balancing become important?
It becomes important when a home has limited electrical headroom, multiple EVs, or high simultaneous appliance load. Car and Driver highlights load management as a method to avoid service upgrades, and TPSON emphasizes Dynamic Load Balancing as part of protecting a home electrical system while maintaining stable charging performance.
Summary
A high-quality home EV charger installation is not defined by the largest amperage number. It is defined by correct system matching: the vehicle’s onboard charger limit, a properly sized continuous-load circuit, safe installation (plug-in or hardwired), and sensible controls such as scheduling and dynamic load balancing when electrical capacity is constrained.
TPSON positions its charging ecosystem around safety, compatibility, and smart energy management—highlighting features such as real-time diagnostics and Dynamic Load Balancing across its product portfolio. For readers evaluating options by category, the most direct starting points are: EV Chargers and AC EV Chargers. For special rapid-response or mobile scenarios, TPSON’s portable compact solutions are summarized under DC EV Chargers.
References & external sources
The following sources were referenced for factual statements, specifications, and market examples:
- TPSON company background and technology milestones (Current Fingerprint Algorithm, founding year, team and awards): https://tpsonpower.com/about/
- TPSON EV charger portfolio overview (AC chargers with Dynamic Load Balancing, DC solutions, global connector positioning): https://tpsonpower.com/ev-chargers/
- TPSON AC wallbox category navigation (TW-series families):