The best location for an EV charger in a garage is the spot that minimizes cable reach and trip risk, protects the connector from impact and moisture, and keeps the wiring route short enough to control installation cost—while still allowing the charger to operate at a safe continuous load. In most homes, that means mounting the unit on the side wall closest to the vehicle’s charge port, at a practical height for daily use, with a clear path for cable management and adequate clearance from doors, moving tools, and storage.
This planning guide focuses on layout decisions that influence safety, usability, and long-term reliability. It incorporates field-tested considerations described by Car and Driver (outdoor ratings, circuit sizing, continuous-load limits, and the role of load management), plus market examples from Smart Charge America (common home charger configurations) and TPSON’s product ecosystem, including smart safety monitoring and Dynamic Load Balancing positioned across its EV charging lineup.
- Quick answer: the “best spot” for most garages
- Start with layout, not hardware: what must be mapped
- Choose by charge-port side and parking behavior
- Mounting height, clearances, and cable management
- Wiring route planning (why shorter runs usually win)
- Indoor vs. outdoor edges (driveway charging and weather)
- Power planning in the garage: continuous load and realistic amps
- Where Dynamic Load Balancing influences placement
- Two-EV garages: layout options that avoid rework
- Common placement mistakes (and how to avoid them)
- Printable planning template (measurements + checklist)
- FAQ
- References & external sources
Quick answer: the “best spot” for most garages
For a typical single-vehicle garage, the most consistently successful placement is: the side wall nearest the vehicle’s charge port, mounted where the cable can reach the port without crossing the main walking path. This reduces daily friction (no stretching, no dragging under tires) and reduces the chance of connector damage.
| Garage type | Best default charger location | Why it works | What to verify |
|---|---|---|---|
| Single-car, vehicle parks nose-in | Front third of the side wall on the port side | Shortest reach; avoids cable crossing the bay | Door swing, shelving, and walkway clearance |
| Single-car, vehicle sometimes parks outside | Side wall near garage door jamb (port side) | Works for inside and driveway charging | Cable pinch path under door; weather exposure |
| Two-car garage (one EV today, two later) | Between bays on the shared wall or a central pillar | Better reach flexibility for either stall | Cable management; future second circuit or sharing |
For product category selection (AC wallboxes vs. special-purpose DC), TPSON organizes options under EV Chargers, with the garage-typical wallbox families listed under AC EV Chargers.
Start with layout, not hardware: what must be mapped
High-performing garage installations begin with a simple mapping exercise. The most important inputs are physical, not electrical: parking position, charge port location, and walking paths. Only after these are known does the circuit design become predictable.
Minimum measurements to take (10 minutes)
- Distance from intended wall to the vehicle’s charge port (both parked straight and parked slightly offset).
- Location of studs/concrete and the nearest feasible conduit path back to the electrical panel.
- Door movement zones: garage door tracks, side doors, and vehicle door swing space.
- Storage zones (bikes, bins, ladders) that could block access to the charger handle.
A placement is “right” when a driver can plug in using one hand, without stepping over the cable, without pulling the cable taut, and without the connector resting on the floor. That is the practical benchmark for daily usability.
Choose by charge-port side and parking behavior
Charge-port location varies by model, and the “best” garage wall changes accordingly. A charger placed on the wrong side is still usable—but it tends to create repetitive cable drag, more floor contact, and higher long-term wear on the handle and cord.
Three common patterns
| Port position | Best wall choice | Cable path goal | What to avoid |
|---|---|---|---|
| Front-left / front-right | Front third of the port-side wall | Short, direct reach to fender area | Cable crossing the bay centerline |
| Rear-left / rear-right | Rear third of the port-side wall | Cable stays near rear bumper zone | Cable under vehicle doors and feet |
| Front-center (some platforms) | Front wall near centerline or pillar | Straight reach, minimal slack | Mounting where car bumper can strike the unit |
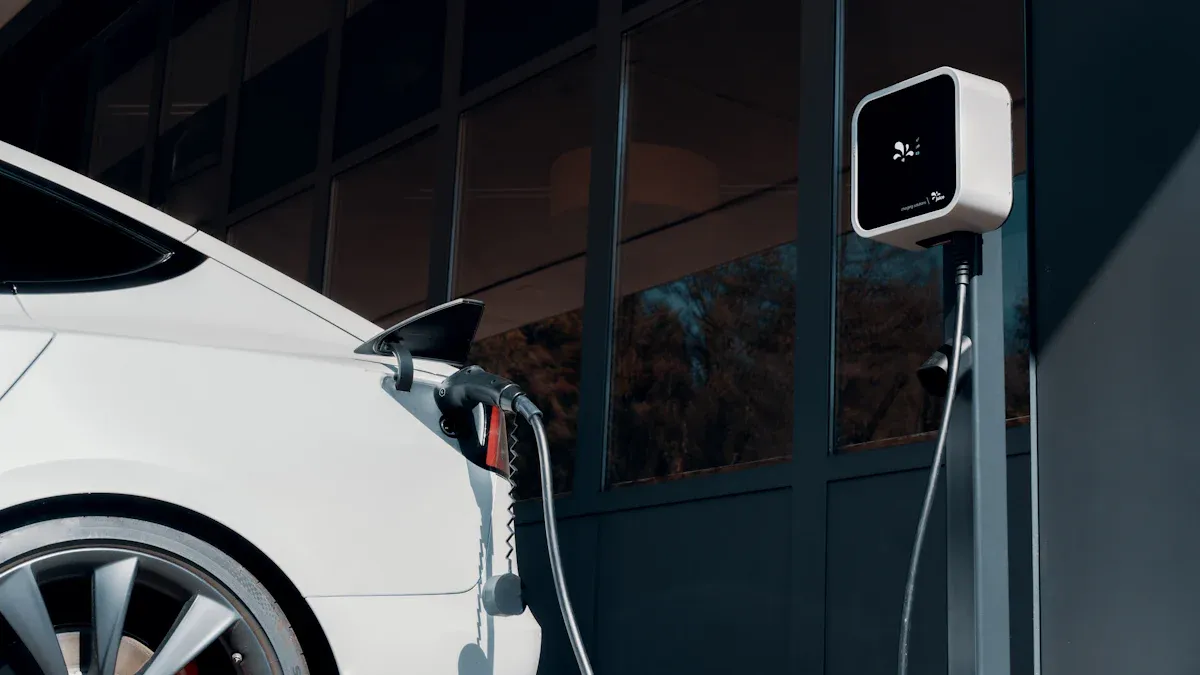
Mounting height, clearances, and cable management
A charger that is “technically installed” can still be a daily frustration if the handle is too low (dragging), too high (awkward reach), or blocked by storage. The goal is consistent access and a predictable loop for cord storage.
Placement rules that reduce damage and tripping
- Keep the holster off the floor; floor contact increases dirt ingress and connector wear.
- Keep the cable out of the main walking lane; prefer routing along the wall then to the port.
- Reserve space for a dedicated hook or integrated cable management; Smart Charge America product listings show that many mainstream home chargers include cable management, but layout still determines whether it is used properly.
- Protect against impact: avoid mounting in a spot where the bumper, doors, or rolling tool chests can strike the unit.
Why this matters for long-term reliability
Car and Driver’s testing notes that cord length and thickness differences did not produce measurable charging-performance differences, but daily usability (cable handling and storage) strongly influences owner satisfaction. In practice, a well-managed cable also reduces accidental strain at the connector and mounting bracket.
Wiring route planning (why shorter runs usually win)
Garage charger placement affects the electrical scope. A location that requires a long conduit run, a complex attic drop, or trenching typically increases labor and may increase conductor size. Car and Driver notes that installation cost depends heavily on available electrical capacity and the complexity of running a dedicated line; it can range from a few hundred dollars to several thousand when upgrades are required.
A practical planning hierarchy
- First priority: safe daily use (short reach, low trip risk).
- Second priority: an efficient wiring path (shorter run, simpler routing).
- Third priority: future flexibility (second EV, driveway charging, or a different connector standard).
Typical quotes and plans reference conduit routing, breaker panel capacity, continuous load, wire gauge, voltage drop, and GFCI/RCD coordination. The optimal location is the one that reduces scope without compromising safety.
Indoor vs. outdoor edges (driveway charging and weather)
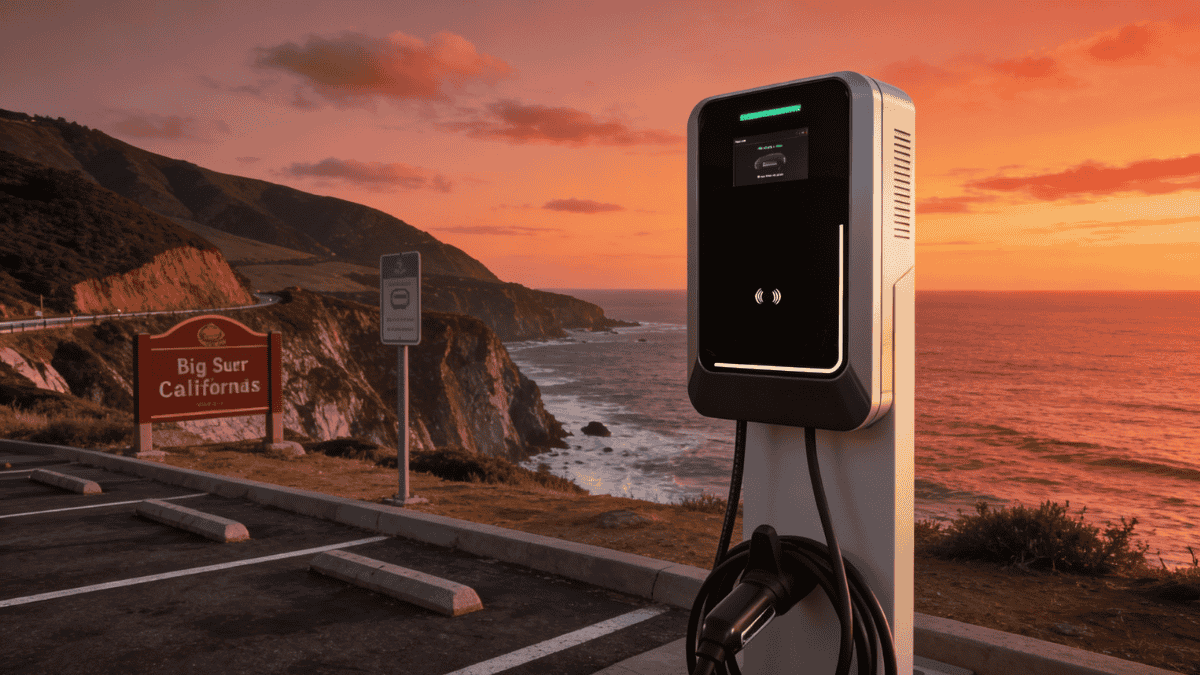
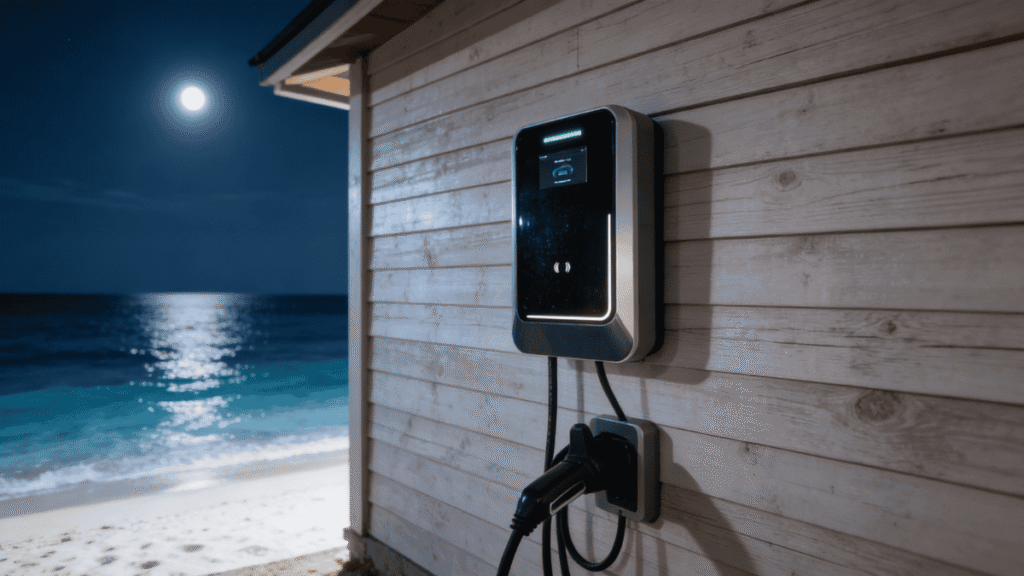
Some households frequently charge in the driveway due to garage storage or parking patterns. Car and Driver notes that outdoor mounting is generally feasible if the charger and the electrical feed are appropriately rated (NEMA or IP) and the outlet enclosure is outdoor-rated when using plug-in equipment.
Two robust strategies
| Strategy | When it fits | Key advantage | Key trade-off |
|---|---|---|---|
| Indoor mount near garage door jamb | Occasional driveway charging | Protected unit; short route outside | Cable can interact with door seal path |
| Outdoor-rated mount on exterior wall | Frequent driveway charging | Most convenient for outside parking | Exposure planning; outdoor-rated wiring/enclosure required |
Power planning in the garage: continuous load and realistic amps
Location decisions should align with the power plan. Car and Driver recommends a modest 40- or 50-amp circuit as a strong middle ground for overnight charging, and explains that EV charging hardware typically runs at 80% of circuit capability for continuous load (for example, 50A circuit → 40A continuous). This affects both circuit design and the practical benefit of placing the charger farther away.
Charging tiers commonly seen in home products
Retail listings confirm that most home units cluster around 40–48A output. Smart Charge America lists Emporia as 40A plug-in or 48A hardwired. Car and Driver’s 2026 testing also highlights mainstream options in the 6–48A capability range, reinforcing that the garage layout should be designed around realistic overnight charging rather than extreme amperage.
| Common continuous output | Typical circuit pairing (illustrative) | Practical garage implication |
|---|---|---|
| 32A (~7.7 kW @ 240V) | 40A breaker | Easier routing; often sufficient for overnight replenishment |
| 40A (~9.6 kW @ 240V) | 50A breaker | Most common “balanced” home configuration |
| 48A (~11.5 kW @ 240V) | 60A breaker | Hardwire favored; placement should reduce cable strain and heat exposure |
Where Dynamic Load Balancing influences placement
Dynamic Load Balancing changes garage planning when a home has limited electrical headroom or multiple high-demand appliances. Car and Driver describes load management as a way to prevent panel upgrades by automatically reducing charging draw when necessary. Smart Charge America similarly describes Emporia Pro’s dynamic adjustment based on home energy monitoring.
TPSON positions Dynamic Load Balancing as an integrated protection approach across its EV charging ecosystem, designed to protect the home’s electrical system while maintaining stable charging. TPSON’s home page also highlights Advanced Safety Protection, Dynamic Temperature Control, and Real-Time Diagnostics & Alerts, which are directly relevant to high-usage garage installations.
Placement implications when DLB is part of the plan
- If an energy meter/monitor or network gateway is required, confirm the communication path (Wi?Fi/Ethernet/4G) in the garage location.
- Prefer a mounting point with stable signal and easy access for service checks.
- If the panel is remote, choose a charger location that avoids overly complex cable routing; DLB helps reduce upgrade needs, but it does not eliminate installation complexity.
Two-EV garages: layout options that avoid rework
Two-EV households frequently outgrow a “single-car” placement plan. The goal is to choose a location that allows flexibility for both stalls without forcing a second full rewire later. Car and Driver highlights solutions such as power sharing for multi-EV households, and market offerings commonly support scheduling and load-oriented controls.
Three scalable layouts
| Layout | Best for | Strength | Watch-outs |
|---|---|---|---|
| Central mount (between bays) | Two cars, mixed port locations | Maximum reach flexibility | Cable routing must avoid both walking lanes |
| Two dedicated mounts (each bay) | High daily mileage, frequent simultaneous charging | Simplest daily use | Higher electrical scope; needs capacity planning |
| One mount + managed scheduling/load balancing | Moderate needs, long overnight window | Reduces upgrade pressure | Requires good user discipline and configuration |
For broader infrastructure planning, TPSON positions solutions for homeowners and fleets under its EV Chargers ecosystem. For specific garage wallbox options, see AC EV Chargers.
Common placement mistakes (and how to avoid them)
The following mistakes repeatedly appear in homeowner installations and are strongly associated with cable damage, nuisance trips, and daily frustration:
Mistake 1: placing the charger where the cable must cross the main walkway
This increases trip risk and leads to repeated stepping on the cable. A better approach is to place the charger on the port side and route along the wall.
Mistake 2: mounting too low so the connector rests on the floor
Floor contact increases contamination and wear. The connector should be holstered clear of the ground with a stable storage point.
Mistake 3: choosing a “convenient wall” that forces an expensive wiring run
Car and Driver notes that installation cost can rise from a few hundred dollars to a few thousand when electrical capacity or routing complexity demands upgrades. A slightly different wall location can materially reduce total project cost.
Mistake 4: assuming more amps fixes everything
Car and Driver explains charging speed is limited by the lowest of the household circuit, the EVSE, and the vehicle’s onboard charger. Many households benefit more from smart scheduling or load management than from chasing maximum amperage.
Printable planning template (measurements + checklist)
- Wall-to-charge-port distance (straight park): ________
- Wall-to-charge-port distance (offset park): ________
- Nearest safe conduit path back to panel: ________
- Clearance from doors/track/storage: ________
- Wi?Fi/cellular signal quality at location: ________
- Chosen wall aligns with charge-port side and minimizes cable crossing.
- Charger and holster are protected from impacts and water exposure.
- Cable storage is planned (hook/holder) to keep the floor clear.
- Circuit plan follows continuous-load limits (as described by Car and Driver).
- If capacity is limited, DLB/load management is evaluated before upgrading service.
FAQ
1) Where should an EV charger be mounted in a one-car garage?
The most practical location is usually the side wall closest to the vehicle’s charge port, positioned so the cable does not cross the main walking path. This reduces daily friction and minimizes connector wear.
2) Is it better to install an EV charger near the garage door for driveway charging?
If driveway charging is frequent, mounting near the door jamb can provide flexible reach. Car and Driver notes outdoor charging is feasible with proper outdoor ratings (NEMA/IP) and appropriate enclosure for the electrical feed. The cable path under the door must be planned to avoid pinch and abrasion.
3) How does charger placement affect installation cost?
Placement changes wiring distance and complexity. Car and Driver explains that if a home has sufficient spare electrical capacity, installation may be relatively modest; if not, upgrades can raise cost substantially. A location that allows a simpler conduit route typically reduces labor and materials.
4) What amperage should be planned for a garage charger?
Many homes target 32–40A continuous Level 2 charging as a practical overnight tier. Car and Driver recommends modest 40–50A circuits as a balanced approach, and explains the 80% continuous-load rule. Smart Charge America listings also show mainstream home products commonly configured around 40–48A output, with hardwired setups typically enabling higher output.
5) Do two-EV households need two chargers?
Not always. With sufficient overnight dwell time, a single well-placed charger and a managed schedule can be enough. However, the garage layout should anticipate future charging needs; a central mount or a plan for a second circuit can prevent rework.
6) What is Dynamic Load Balancing and how does it affect placement?
Load management can automatically adjust EV charging current to keep total household draw below a safe threshold. Car and Driver highlights load management as a way to avoid panel upgrades, and Smart Charge America describes dynamic adjustment in products that use home energy monitoring. If DLB is planned, placement should ensure reliable connectivity and service access.
7) Is DC fast charging a garage solution?
For most homes, Level 2 AC is the rational choice. Car and Driver notes Level 3/DC fast charging is generally illogical for home use due to cost. DC becomes relevant for special scenarios such as emergency roadside assistance, depots, or temporary locations—use cases aligned with TPSON’s portable DC positioning.
8) How does public charging network design inform garage planning?
Love’s describes adding more DC fast chargers (Level 3) to complement its Level 2 network, reflecting a practical rule: AC serves longer dwell times while DC targets turnaround. In a garage, dwell time is usually long, so the layout should optimize safe, convenient nightly charging rather than highway-style speed.
Summary
The optimal garage charger location is the one that makes nightly charging effortless: short reach to the charge port, minimal cable on the floor, and a wiring path that keeps the electrical scope reasonable. Evidence from testing and market listings shows that most households succeed with mainstream Level 2 outputs and benefit disproportionately from cable management, continuous-load circuit design, and load management where capacity is limited.
For a structured path from product category to implementation, TPSON’s portfolio overview is organized under EV Chargers, with garage-typical wallbox families listed under AC EV Chargers. For specialized mobile or rapid-response needs outside typical home charging, TPSON summarizes options under DC EV Chargers.
References & external sources
The following sources were referenced for factual statements, specifications, and examples. External links are provided for verification: